Showing posts with label t-shirt quilt tutorial. Show all posts

Sunday, August 7, 2011

T-Shirt Quilt Tutorial - Part 2

Materials (Part 2 only)
Rotary Cutter, Mat
Interfaced T-Shirt Pieces (Completed in Part 1)
Sewing Machine and 1/4” Presser Foot
Coordinating Thread

Step 1- Decide on a general layout.

Lay your pieces out and play with designs.  Decide whether you would like to sew your shirts in rows or columns (or some of both).  

For columns, try your best to make each row from shirts with similar width of printed space.  For rows, they should be of a similar height.  If one piece is too small, you can always go back and add scraps to make it the right width/height.  


You can also add scraps to give your quilt a more random look.  Play with turning thin designs 90 degrees.  Decide where you need to add scraps. Interface the scraps and lay them in place.  Take into account the number of seams in each row or column.  You will lose about 1/2” at each seam.  


Step 2- Square up all pieces and trim to size.


To make columns: Working one column at a time, measure the width of all pieces in the column.  Decide on a width (exact measurement, like 14") to cut each piece so that the designs are not cut off. Leave at least 1/2” of unprinted space on each edge.  Square up each piece on all sides, and cut the width to the desired measurement.  

Each of the columns in this quilt is trimmed to a different width.  I tried to group similar sized shirts together. 


Once you have trimmed all the shirts to the correct width, lay them out again.  Begin trimming the height of the blocks so that your columns come out to roughly the same length.  Take into account that you will lose 1/2" in length with every seam.  In the picture below, the second column has only two seams, but the rest of them have three.  I just made sure to allow extra room for trimming at the bottom for the second row.


To make rows: Working one row at a time, measure the height of all pieces in the row.  Decide a height to cut all the pieces so that the designs are not cut off. Leave at least 1/2” of unprinted space on each edge. Square up each piece on all sides, and cut the height to the desired measurement. 

Once you have trimmed all the shirts to the correct height, lay them out again.  Begin trimming the width of the blocks so that your rows come out to roughly the same length.  Take into account that you will lose 1/2" in length with every seam.
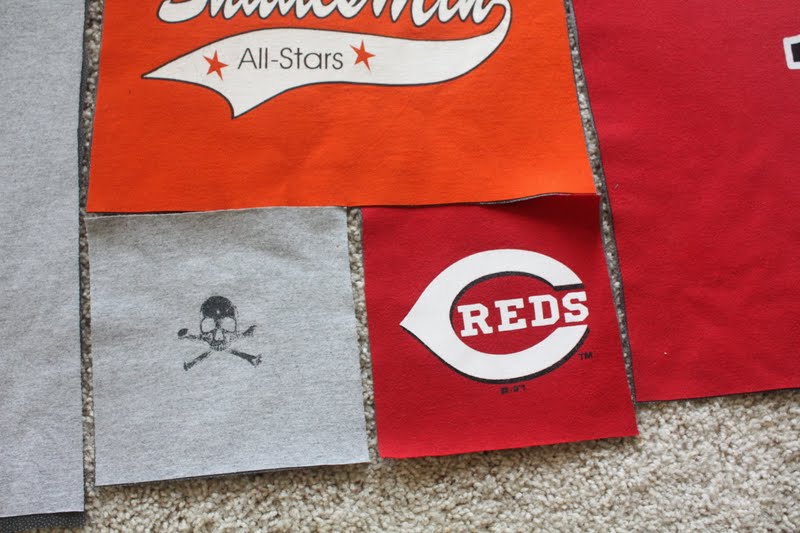

For smaller pieces that will be joined together within a row or column (shown above), square them up first and sew them together.  Press the seams open. Treat this as one shirt.  Then trim down the rest of the shirts in the row or column to the correct size.


Step 3- Sew the rows or columns together.  

If you were working in columns, sew each column together (shown above).  Then, you can sew the columns together to complete the quilt top.  Trim the edges so that they are straight.

If you were working in rows, sew each row together.  Then, sew the rows together to complete the quilt top.  Trim the edges so that they are straight.


This particular quilt is made up of columns in the middle, and rows on the top and bottom.


At the end of all the trimming and sewing, you should end up with a quilt top.  You need to think about borders and if you want to add them.

I'll write about adding borders and finishing the quilt in Part 3!  Thanks for reading!

Saturday, July 16, 2011

T-Shirt Quilt Tutorial - Part 1

Hi there!  For all of you who want to learn how to make a t-shirt quilt, I'm going to tell you my secrets.  As always, I don't claim to know all there is to know about making t-shirt quilts.  I have made several, and I've learned plenty by doing it.  Trial by fire, if you will.  So, in order to keep you out of the proverbial fire, here's what I know.

Materials (Part 1 only!)
Pellon 911FF Featherweight Fusible Interfacing (any color)*
20-25 T-Shirts

Quilting Tools
Rotary Cutter
Cutting Mat & Ruler
6.5" Quilter's Square (optional)
Iron
Ironing Board
Press Cloth (optional)

*The amount of fusible interfacing you'll need will vary depending on the number/size of the shirts you're using.  I think it's always good to start with 5 or 6 yards if you don't want to buy a bolt.  I got a great deal on my bolt at Overstock.com.  It's nice not having to worry about running out...

Step 1- Cut.

Use your rotary cutter, ruler and cutting mat to cut your t-shirts.  Be very generous in cutting.  You will trim and square up the shirts later.  Don't throw scraps away just yet.  You may need them later.

If I'm making the quilt for someone else, I ask them to designate which part(s) of each shirt they want me to use with painter's tape.

This shirt only has a design on the front, so I just cut through the whole shirt.  


This shirt has designs on both sides, so I split the sides and opened the shirt before I cut my rectangles.


You should end up with a pile of rectangles like this...


For cutting pockets, I sometimes use a 6.5" quilter's square.  It's easier for me if they're all the same size.

Step 2- Interface.


Lay out one t-shirt rectangle on your ironing board, right side down.  Iron the back of your rectangle.  Never iron the right side of a t-shirt.  The design will melt!


Trim the interfacing to the proper size.  


I don't usually trim all sides, but that's because I'm slightly lazy ;)  I also don't mind if a little glue gets on my ironing board.  It doesn't happen that often.  I'm careful where I put the iron.


Fuse the interfacing in place according to the manufacturer's instructions.  Don't worry about trimming the interfacing down for seam allowances.

You should use a press cloth over your interfacing if you want to keep your iron nice and clean.  I had a nasty accident with fusible fleece a while back, so being clean is not a possibility for my poor iron.  I do use a spray bottle to keep everything nice and cool.


I cut 6.5" squares of interfacing for the pockets.  The edges won't line up perfectly, but they come pretty close.  Like I said earlier, you will do lots of trimming later.


So, that should keep you busy for a while.  If you've finished this part, here's Part 2!

Saturday, February 5, 2011

Quick Baby Blanket Tutorial

Quick Baby Blanket
Finished size approx. 26.5" square

Materials needed: 
3/8 yd. each of 3 coordinating fabrics (quilting cotton)
7/8 yd. minky or other soft fabric*
Coordinating all-purpose thread
Yarn or embroidery thread (I used DMC Perle 5)
Hand embroidery or upholstery needle
*I find minky to be a bit slippery to sew, so if you are in an extreme hurry you might want to try something like flannel.

**Even Faster Variations:**
-If you're really in a hurry, just use one top fabric and one back fabric (both 7/8 yd.) and trim them into matching squares.  Then, begin with Step 7.
-Try using 3 9.5"x 27.5" strips for the top fabric and begin with Step 5.

-------------------------------------------------


1. Using a quilting ruler, mat, and rotary cutter, cut one strip of each cotton fabric 9.5"x width of fabric.

2. Cut 9.5" squares from each strip.  You can get 4 from each fabric, but you won't need that many.  You will only need 9 squares total. 

 I used a 9.5" quilter's square, but that's not necessary if your cutting mat has measurements on it.
I cut 3 squares of animal fabric, 4 squares of green dots, and 2 squares of stripes. 
 3. Sew your squares together in rows using a 1/4" inseam.  As with any patchwork project, it's really important to have a 1/4" presser foot so that your seams line up perfectly.

4. Once you have 3 rows of 3 squares each sewn together, press your seams.  You can either press them toward the dark fabric or press them like I did- top and bottom rows in one direction and middle row in the opposite direction.


5. Sew rows together to complete blanket top.  

Here are a few tips for pinning your rows together:
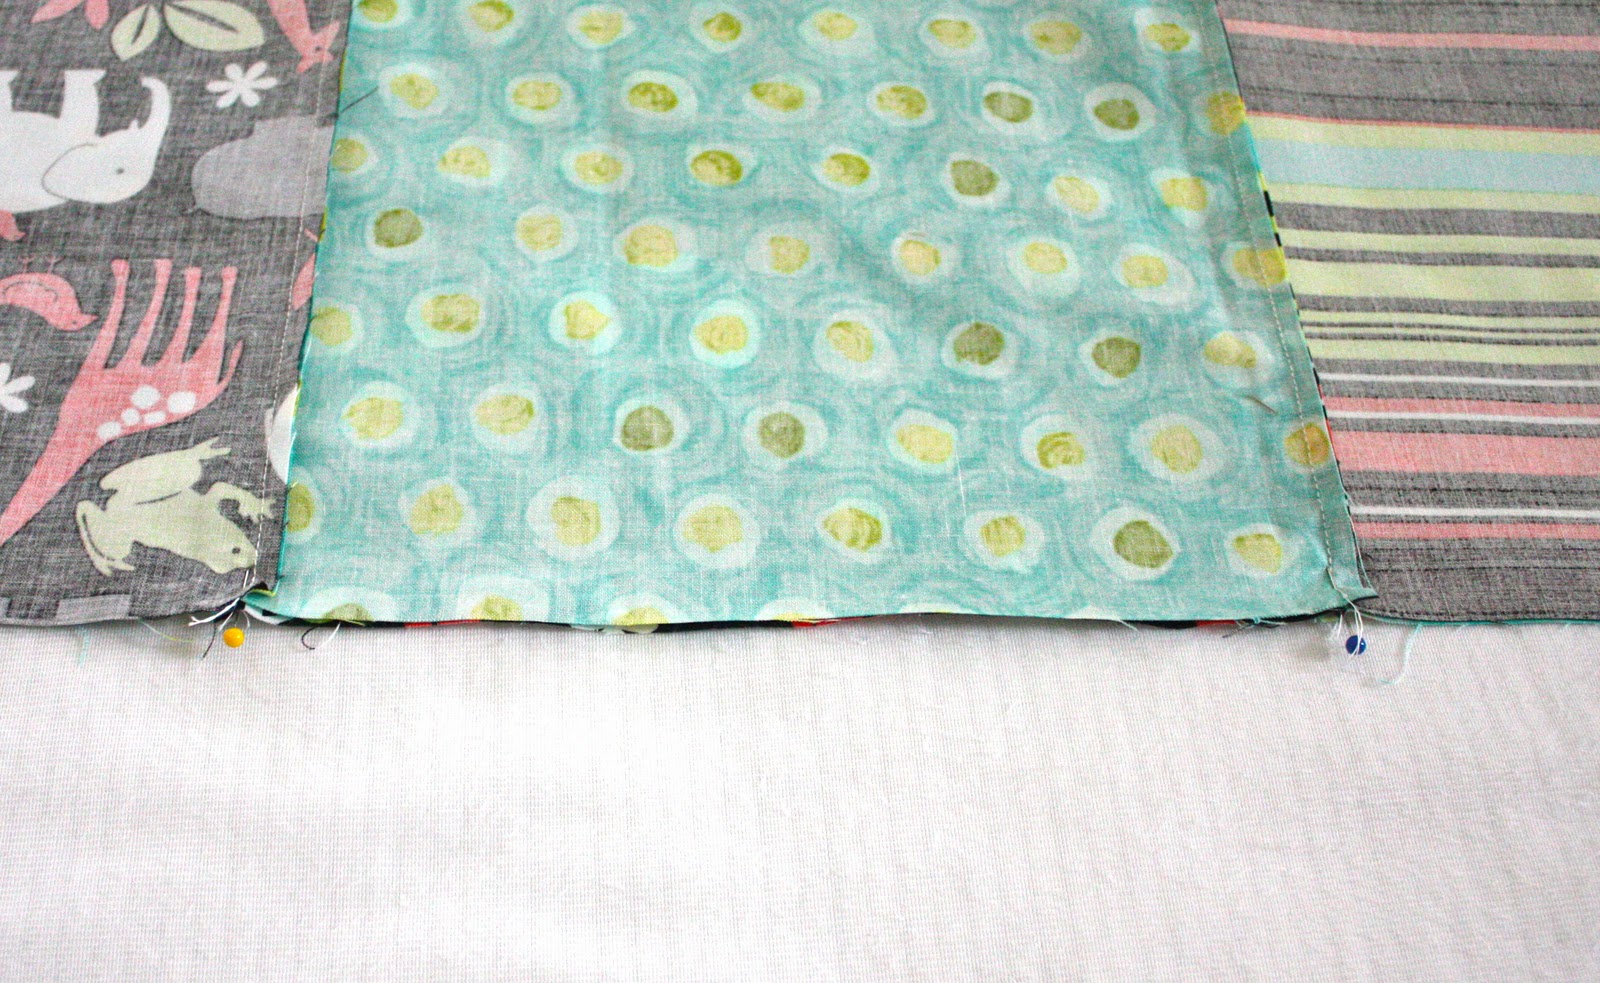
Arrange two rows right sides together making sure to align the seams.  Don't worry about the edges too much yet.
Starting with the bottom row, insert your pin into the seam on the wrong side of the fabric about 1/4" from the cut edge (about where your stitches will go when you begin to sew).  Then insert your pin into the seam on the right side of your top row fabric.  When I took my quilting class, my instructor told me to "guess at a quarter inch."
Now press your fabrics together and insert the tip if the pin back through both rows of fabric. 

This method of pinning really helps you to get sharp points without pinning a million times.
Now line up the edges and sew your seam.  Don't remove the pin until you have caught one of the seam allowances with your needle.
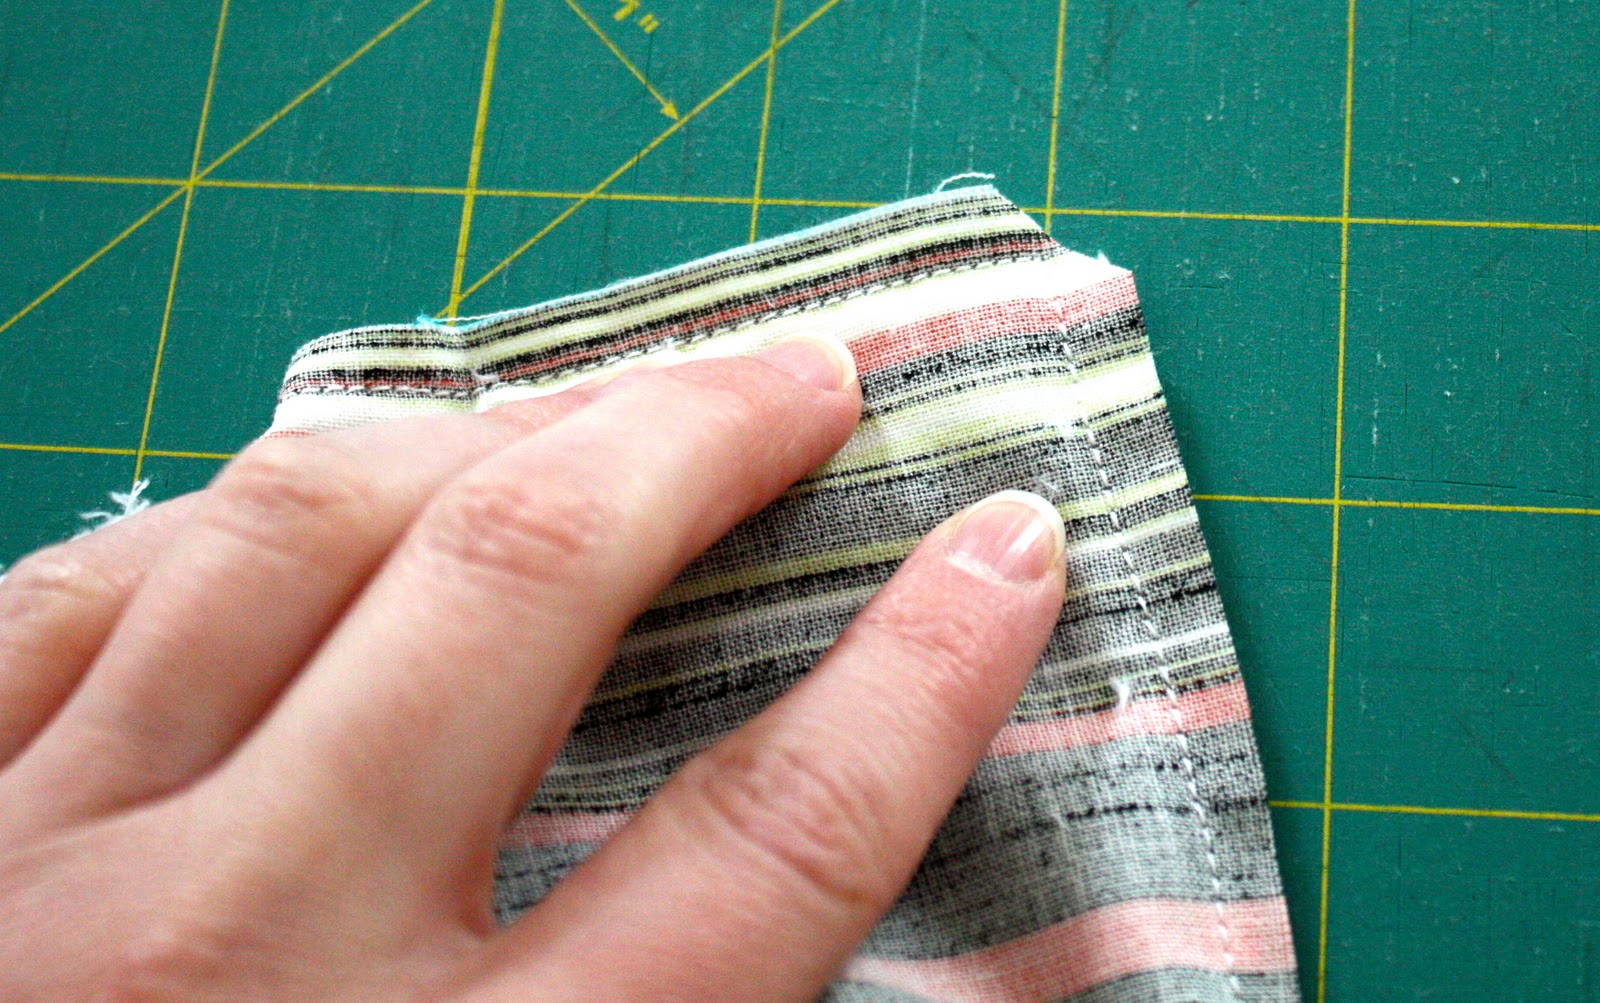
Now press those middle seams open.
And you have a perfect (or nearly perfect) point!
6. Lay your blanket top out in the wrong side of your minky and trace the edges using a ruler and fabric marker, and cut out your blanket back.  I just used scissors.


 7. Position your fabrics right sides together, and pin them in place.  Unlike joining the seams in the top, you'll probably need a fair amount of pins because the minky is so slippery.  Sew your layers together with a 1/2" inseam leaving a 4"-5" opening in one side for turning.  Backstitch on either side of your opening.

A note about turning corners: When your needle is 1/2" from each corner, leave your needle down in the fabric, raise the presser foot, rotate the fabric 90 degrees counter clockwise, and continue sewing.  Use your regular presser foot or a walking foot.  

8. Trim your corners (but do not cut the stitches in the corner) and turn your project right sides out.  Make sure your corners are crisp by using a pointed object like a capped pin, closed scissors, knitting needle, your finger, etc., to push the corners out from the inside.


9. Tuck the edges of your opening in, pin them in place, and top stitch around the edges of your blanket 1/8"-1/4" from the edge.  Make sure your topstitching closes the opening.

10.  You'll need to secure the blanket with ties or a nice satin stitch on your machine.  I used 4 ties, but you can have as many as you like, pretty much anywhere you like.  I made mine tie in the back, but once again, that's up to you.

To make your ties come out in the back, thread your needle and insert in into the back and up through the front in the spot you choose. 


Secure your tie with a surgeon's knot.  Trim to about 1/2" inch.


And that's it!  Now you can use your scraps to make coordinating burp cloths!  Enjoy!

If you make one, let me know!  I'd love to see pictures!

Wednesday, August 18, 2010

How to Make a T-shirt Quilt: My Process and Tips

I  thought I'd share my process and a few tips for making a t-shirt quilt if you decide to make one yourself.  Here goes...
1. Select about 20 t-shirts and cut out the design you'd like to use, leaving at least 3 or more inches on each side of the design (if you can...if not, just leave as much as you can).  I used a rotary cutter.
--This is a rough estimate for a large lap-sized quilt. You may need more to make a quilt large enough for a bed.
--You can make all the blocks the same size (say, 15" squares) or use all different sizes like I did.

2. Iron a lightweight fusible interfacing to the back of your shirts according to the manufacturer's instructions.
 --I chose lightweight interfacing because I didn't want the t-shirts coming out too stiff to snuggle under.
 --I'm sure you would never do this, but DO NOT iron directly on the printed part of the t-shirt.  It will melt! I made that mistake with one of my favorite shirts from college... So sad.  :(

3. Lay out your t-shirts in a pattern you like.  You will most likely need to use some t-shirt scraps backed with interfacing or some other fabric to fill in gaps in your quilt top.
 --I put my largest pieces in the corners and filled in the spaces from there.
4.  Trim each t-shirt to the desired size, squaring off the edges.  Do not forget to allow 1/4" for each seam.  *You may not have the same number of seams in each row.*
  --Squaring off the edges after you've applied interfacing will help you get the best shape from your shirts, and you will secure the interfacing as you sew each seam.  This means you won't have to quilt over each shirt if you don't want to.

5.  Sew blocks together using a 1/4" inseam and a jeans/denim needle (100/16).  You may have to sew up a crazy seam or two, so be ready for it.  See instructions for this kind of seam below...
6.  Add a border if you'd like one.
 --I used quilting cotton for mine.

7.  Baste, quilt and bind your quilt as desired.
 --When basting your quilt sandwich, try not to pin the printed part of your shirts too much because it could leave holes.
 --I quilted in the ditch (right on top of each seam) with a neutral thread to preserve the look of the shirts.

Good luck!

**This is just the process that I used.  I do not claim to know everything there is to know about t-shirt quilts, but it worked well for me! :)

Instructions for sewing a jagged seam:


{seam 1}