Interfaced T-Shirt Pieces (Completed in Part 1) Sewing Machine and 1/4” Presser Foot
Coordinating Thread
Step 1- Decide on a general layout.
Lay your pieces out and play with designs. Decide whether you would like to sew your shirts in rows or columns (or some of both).
For columns, try your best to make each row from shirts with similar width of printed space. For rows, they should be of a similar height. If one piece is too small, you can always go back and add scraps to make it the right width/height.
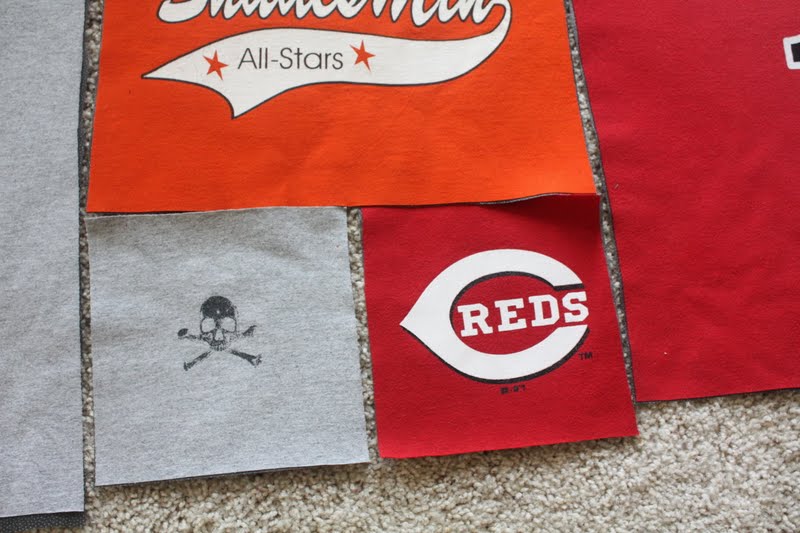
You can also add scraps to give your quilt a more random look. Play with turning thin designs 90 degrees. Decide where you need to add scraps. Interface the scraps and lay them in place. Take into account the number of seams in each row or column. You will lose about 1/2” at each seam.
Step 2- Square up all pieces and trim to size.
To make columns: Working one column at a time, measure the width of all pieces in the column. Decide on a width (exact measurement, like 14") to cut each piece so that the designs are not cut off. Leave at least 1/2” of unprinted space on each edge. Square up each piece on all sides, and cut the width to the desired measurement.
Each of the columns in this quilt is trimmed to a different width. I tried to group similar sized shirts together.
Once you have trimmed all the shirts to the correct width, lay them out again. Begin trimming the height of the blocks so that your columns come out to roughly the same length. Take into account that you will lose 1/2" in length with every seam. In the picture below, the second column has only two seams, but the rest of them have three. I just made sure to allow extra room for trimming at the bottom for the second row.
To make rows: Working one row at a time, measure the height of all pieces in the row. Decide a height to cut all the pieces so that the designs are not cut off. Leave at least 1/2” of unprinted space on each edge. Square up each piece on all sides, and cut the height to the desired measurement.
Once you have trimmed all the shirts to the correct height, lay them out again. Begin trimming the width of the blocks so that your rows come out to roughly the same length. Take into account that you will lose 1/2" in length with every seam.
For smaller pieces that will be joined together within a row or column (shown above), square them up first and sew them together. Press the seams open. Treat this as one shirt. Then trim down the rest of the shirts in the row or column to the correct size.
Step 3- Sew the rows or columns together.
If you were working in columns, sew each column together (shown above). Then, you can sew the columns together to complete the quilt top. Trim the edges so that they are straight.
If you were working in rows, sew each row together. Then, sew the rows together to complete the quilt top. Trim the edges so that they are straight.
This particular quilt is made up of columns in the middle, and rows on the top and bottom.
At the end of all the trimming and sewing, you should end up with a quilt top. You need to think about borders and if you want to add them.
I'll write about adding borders and finishing the quilt in Part 3! Thanks for reading!